How to Grow Microgreens
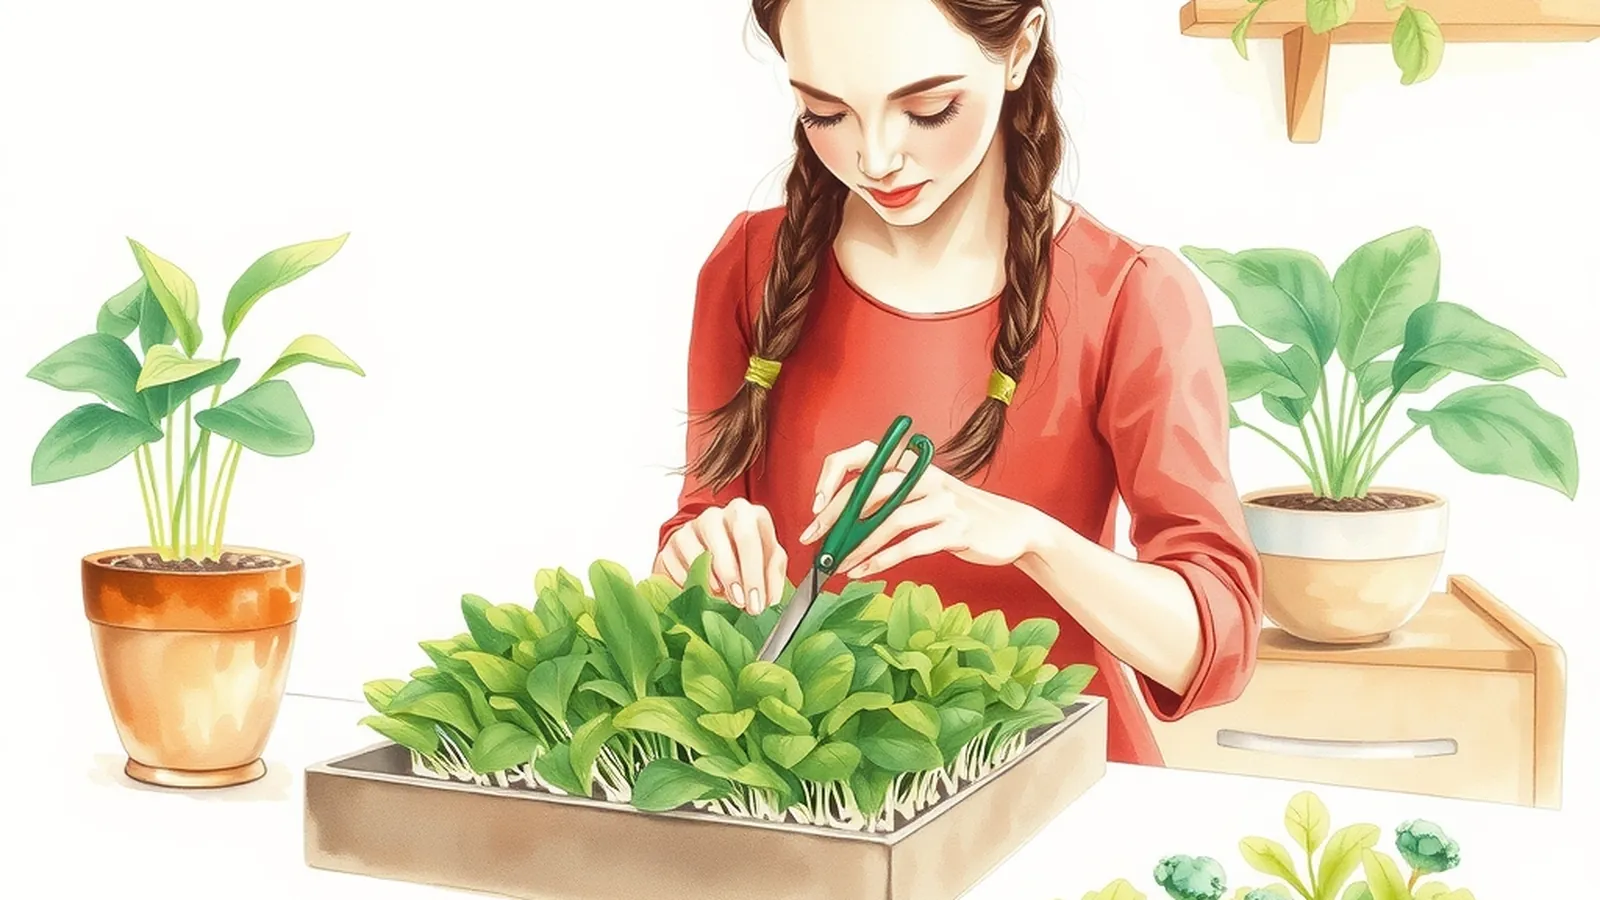
To grow microgreens, fill a shallow tray with potting mix or a grow mat, scatter seeds thickly over the surface, keep them covered and moist until they sprout, then give them bright light and water from below. In roughly one to three weeks, depending on the crop, snip the tiny greens just above the soil with clean scissors and rinse them before eating.
Microgreens are the fastest harvest in our Small Spaces section, and they fit on a kitchen counter or windowsill. Here's how to grow a tray from start to finish.
What you'll need
- Shallow trays. Two per crop is handy: one with drainage holes to grow in, one without to sit underneath for bottom watering.
- Growing medium. A fine, light potting mix or seed-starting mix, or a fiber grow mat.
- Seeds sold for microgreens or sprouting. These are intended for eating at a young stage. Avoid seeds treated with coatings meant for garden planting.
- A spray bottle for misting.
- A cover, such as an upside-down tray or a lid, for the sprouting stage.
- Light. A bright window or a simple grow light.
- Clean scissors for harvesting.
Good first crops
| Crop | Speed | Notes |
|---|---|---|
| Radish | Fast | Peppery; easy for beginners |
| Mustard and arugula | Fast | Spicy flavor |
| Broccoli and kale | Medium | Mild and popular |
| Pea shoots | Medium | Soak seeds first; tender, sweet shoots |
| Sunflower | Medium | Soak seeds first; nutty, crunchy |
| Basil | Slower | Tiny seeds; needs patience and warmth |
Start with radish or broccoli for a quick, forgiving first tray.
Step by step
- Wash your hands and clean the trays with hot, soapy water. Rinse well.
- Fill the tray with about an inch of moistened mix and level it gently. Don't pack it hard.
- Soak larger seeds like peas and sunflowers in clean water for several hours if the seed supplier recommends it. Small seeds usually go in dry.
- Sow thickly. Scatter seeds evenly so they're close but not piled on top of each other.
- Press lightly so seeds touch the mix. Mist the surface.
- Cover the tray to keep it dark and humid while seeds sprout. Some growers set a light weight on the cover for larger seeds.
- Check daily and mist if the surface looks dry.
- Uncover once most seeds have sprouted and the shoots start pushing up, usually within a few days.
- Move to light. Put the tray in your brightest window or a few inches under a grow light.
- Water from below by pouring water into the tray underneath and letting the mix soak it up for a few minutes, then pour off the extra.
Light and air
Without enough light, microgreens grow tall, pale and floppy. A south or west window can work in many homes, but a grow light gives steadier results, especially in winter. Our guide to grow lights covers distance and timers.
Good airflow helps prevent mold. Don't crowd trays together, and a small fan on low in the room can help. Avoid watering over the top of the greens once they're up, since wet leaves in still air invite trouble.
Harvesting
Microgreens are usually ready once the first set of leaves (the seed leaves) has opened, and sometimes when the first true leaves begin to appear.
- Wash your hands and use clean scissors.
- Hold a small bunch and cut just above the soil line.
- Rinse the greens under cool running water and gently pat or spin them dry.
- Eat them soon, or store them in a covered container lined with a dry paper towel in the refrigerator for a few days.
Don't pull up roots and soil with your harvest.
Food safety basics
Because you eat microgreens raw, cleanliness matters:
- Wash hands before sowing, tending and harvesting.
- Use clean trays and fresh growing mix for each crop.
- Buy seeds intended for microgreens or sprouting.
- Toss any tray with fuzzy gray, black or slimy mold, or a sour smell, rather than trying to cut around it.
- Rinse greens before eating.
- Keep trays away from pets, raw meat and kitchen cleaning sprays.
Some white, fuzzy growth at the base of roots can be normal root hairs, which look like mold but disappear when misted. If you're not sure, don't eat it.
Example: a weekly tray rotation
Example (fictional): Jesse wanted greens for weekday lunches. They set up three trays on a wire shelf under one grow light: radish, broccoli and pea shoots. Each weekend, Jesse harvested whichever tray was ready, put the spent mat and roots in the compost, cleaned the tray and sowed a new one. That gave a small, steady harvest without much work on weeknights.
When you're ready for bigger greens
Microgreens are a great introduction to growing leafy crops. When you want full-size salads, our guide on how to grow lettuce covers cool-season timing, cut-and-come-again harvesting and bolting.
Troubleshooting a tray
| Problem | Likely cause | What to try |
|---|---|---|
| Patchy sprouting | Seeds dried out or sown unevenly | Mist more often and keep the tray covered until sprouting |
| Tall, pale, leaning greens | Not enough light | Move to a brighter spot or lower the grow light |
| Fuzzy mold on stems | Too wet, poor airflow | Toss the tray, water from below, add a gentle fan |
| Seeds lifting off the mix | Seed hulls drying on top | Mist the surface and press lightly before uncovering |
Keep a small note of sowing dates and harvest dates for each crop. After a few rounds, you'll know how many days your setup takes and can time trays for the days you want them.
Where to go next
- Ready to grow full-size greens outside? A raised bed gives lettuce, spinach and radishes room to mature.
- Use the same potting mix and drainage habits in container gardening to grow greens in a window box.
- Curious about growing without soil? Hydroponics basics explains simple setups that suit lettuce and herbs.
Something to do today
Clean one shallow tray and pick up a packet of radish or broccoli seeds sold for microgreens. Sow it tonight, cover it, and set a reminder to check for sprouts in two or three days.
Want a step-by-step plan or guide?
Some people like the structure of a paid guide or set of plans. This button opens a third-party program from one of our advertising partners. Its claims are its own, not ours, so weigh them against our checklist for judging paid plans.
See the partner program →We may be paid when you click. The program shown can change. Read its terms before you buy anything. How this works
Frequently asked questions
How long do microgreens take to grow?
Many common microgreens are ready somewhere around one to three weeks after sowing, depending on the type, the temperature and your light. Radish and mustard are often among the quickest; others such as basil take longer.
Can I regrow microgreens after cutting them?
Most microgreens don't regrow well once cut, because you've removed the growing tip. Plan on sowing a fresh tray for each harvest, and stagger trays a few days apart for a steady supply.
What is the difference between microgreens and sprouts?
Sprouts are germinated seeds eaten whole, usually grown in water. Microgreens are grown in soil or a mat with light, and you cut and eat only the stems and leaves above the surface after the first leaves open.