How to Refinish Furniture
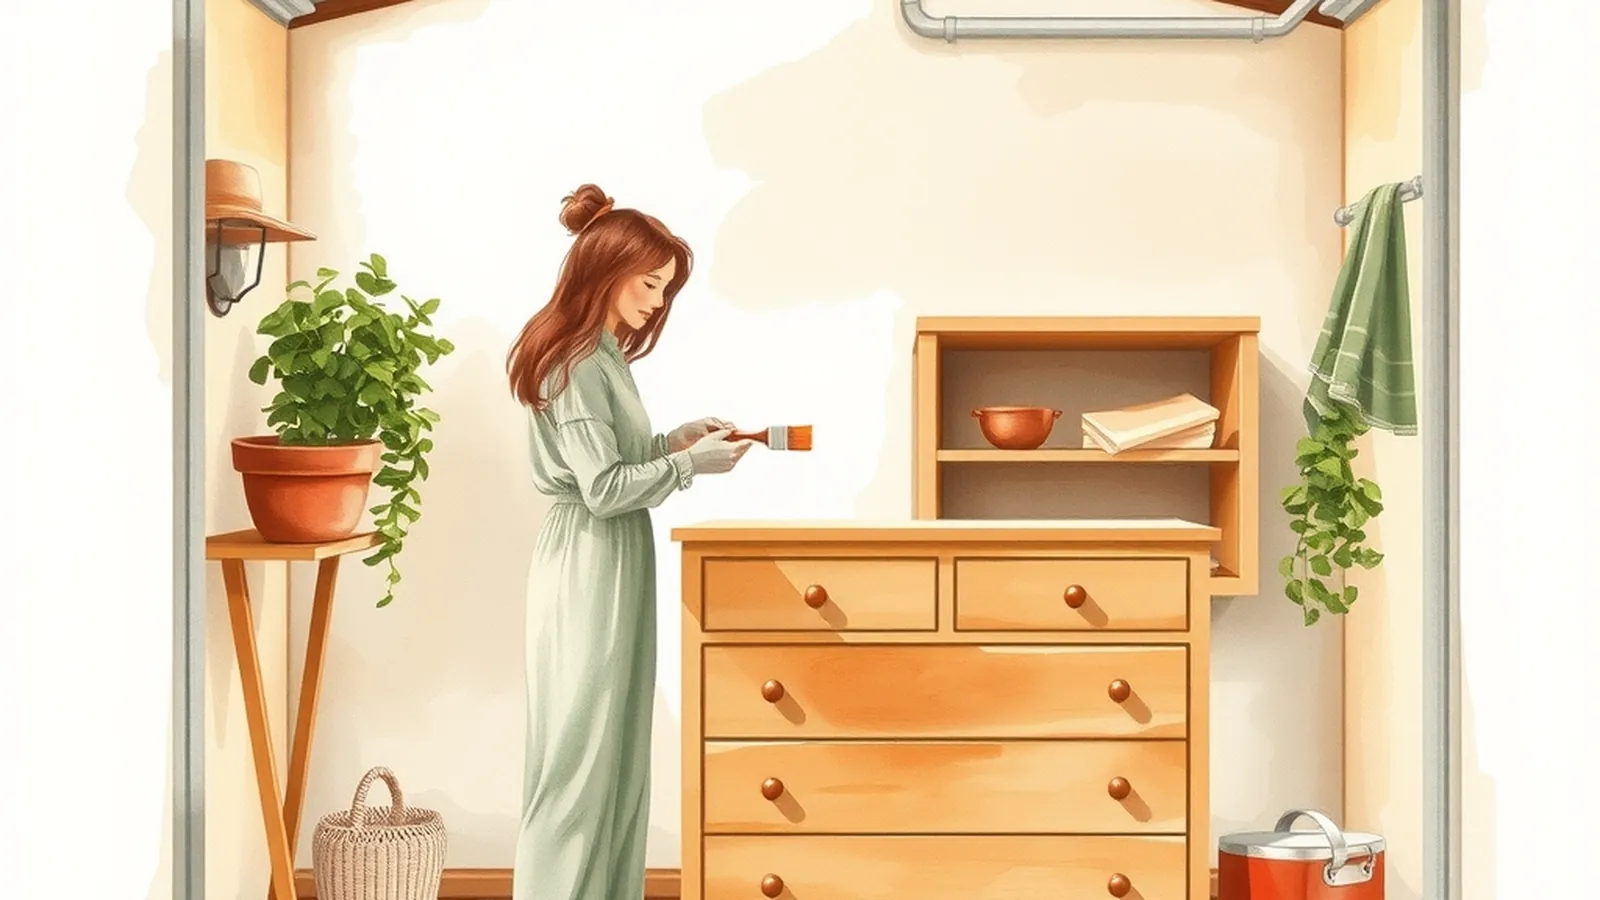
Refinishing furniture comes down to four steps: clean the piece, remove or scuff the old finish, apply stain or paint, and seal it with a topcoat. The details depend on what you start with. Before you sand anything old, test painted pieces for lead, and plan to work somewhere with plenty of fresh air.
It's one of the most rewarding projects in our DIY & Repairs section, because it gives a second life to furniture you already own or picked up secondhand.
Is this piece worth refinishing?
Before you start, look closely:
- Solid wood or veneer? Look at the edges and the underside. Veneer is a thin layer of wood over another material and can be sanded through quickly. Paint is often the safer choice for veneer.
- Sturdy frame? Wobbly joints can usually be reglued. Cracked legs or split tops take more work.
- Possibly valuable? Antiques and heirlooms can lose value when refinished. Ask an appraiser or a professional furniture restorer before you sand.
- Worth the space? If you're refinishing to keep a piece you don't really use, consider letting it go. Our guide to decluttering your home offers a simple keep-donate-toss approach.
Safety first
- Lead in old paint. Painted furniture from before 1978 may contain lead paint. Test it before sanding or scraping. Our guide to painting a room explains lead safety in more detail.
- Ventilation. Work outdoors or in a garage with the door open and a fan pulling air outside. Stains, strippers and finishes can give off strong fumes.
- Protective gear. Chemical-resistant gloves, safety glasses and a dust mask for sanding. Some strippers call for a respirator; check the label.
- Follow the product label for every stripper, stain and finish, including temperature, drying times and disposal.
- Oily rags can catch fire on their own. Rags soaked in oil-based stains and finishes can heat up as they dry. Follow the label for disposal, which often means laying them flat to dry outdoors or storing them in a sealed metal container with water, and check local rules.
- Store products sealed and out of reach of kids and pets.
What you'll need
- Mild cleaner, buckets and rags
- Sandpaper in medium and fine grits, a sanding block or random orbit sander
- A chemical stripper and plastic scraper (if stripping)
- Wood filler and a putty knife
- Stain or paint, plus primer if painting
- A topcoat such as polyurethane, water-based polycrylic or wax, compatible with your stain or paint
- Brushes, foam brushes or lint-free cloths
- Drop cloths, gloves, safety glasses and a dust mask
Step 1: Clean and repair
- Remove drawers, knobs and hardware. Keep screws in a labeled bag.
- Clean the piece with a mild cleaner and water, following the label, then dry it.
- Reglue loose joints with wood glue and clamp them until dry.
- Fill dents and gouges with wood filler, then let it dry.
Step 2: Strip or sand
Light scuff-sand if the finish is in good shape and you'll paint over it. Use fine sandpaper to dull the surface so primer can grip.
Full sand if you want bare wood for stain and the piece is solid wood. Start with medium grit, move to fine, and always sand with the grain.
Chemical stripper for thick, flaking or detailed finishes where sanding is hard. Apply it following the label, give it the time listed, then scrape gently with a plastic scraper. Clean off residue as the label directs.
Wipe away dust with a slightly damp cloth before finishing.
Step 3: Stain or paint
| Choice | Best for | Tips |
|---|---|---|
| Stain | Solid wood with attractive grain | Test on a hidden spot; wipe off extra; apply a pre-stain conditioner on blotch-prone woods like pine if the label suggests it |
| Paint | Veneer, mismatched woods, repaired pieces | Prime first; use thin coats; sand lightly between coats |
| Clear finish only | Wood you like as-is | Clean and scuff-sand, then topcoat |
Staining:
- Apply stain with a brush or cloth along the grain.
- Wipe off the extra after the time on the label.
- Let it dry fully. Add a second coat for a deeper color if needed.
Painting:
- Prime with a primer suited to the surface.
- Apply thin, even coats of paint with a brush or foam roller.
- Sand lightly with fine sandpaper between coats, then wipe off dust.
Step 4: Seal it
A topcoat protects the surface from scratches and spills. Choose one compatible with your stain or paint, and apply thin coats, sanding lightly between them as the label recommends. Let the final coat cure for the full time on the label before putting the piece to heavy use.
When it's not a DIY job
Some pieces are better handled by someone else. If your furniture has heavy lead paint, valuable antique finishes, complex veneer damage or structural cracks, a professional restorer may be worth it. Our guide on when to call a pro explains how to compare quotes and check credentials, and the same habits apply when you're hiring a furniture restorer.
A worked example: a curbside dresser
Example: Alex, 36, picks up a secondhand pine dresser with chipped paint. Because they don't know its age, they test the paint, which comes back negative for lead. They remove the drawers, clean everything, reglue a loose drawer front, scuff-sand, prime and paint two thin coats outdoors. After a water-based topcoat cures, the dresser goes into the bedroom with new knobs.
Keep it looking good
Refinished furniture lasts longer with coasters, felt pads and an occasional dusting. Add "check furniture for loose joints and worn finishes" to your home maintenance checklist once or twice a year. And if refinishing sparks a wish to build your own pieces, our guide to easy woodworking projects is a good place to start.
Something to do this weekend
Pick one small piece, like a nightstand, stool or side table. Check whether it's solid wood or veneer, test the paint for lead if it might be old, and do a test patch of stain or paint on the underside. Once you like the result, you'll have a plan for the whole piece.
Want a step-by-step plan or guide?
Some people like the structure of a paid guide or set of plans. This button opens a third-party program from one of our advertising partners. Its claims are its own, not ours, so weigh them against our checklist for judging paid plans.
See the partner program →We may be paid when you click. The program shown can change. Read its terms before you buy anything. How this works
Frequently asked questions
Do I have to strip furniture before refinishing it?
Not always. If the old finish is sound, cleaning and lightly scuff-sanding may be enough before painting or applying a compatible topcoat. Strip or fully sand when the finish is flaking, gummy or you want to change stain color.
Should I stain or paint my furniture?
Stain shows off wood grain and works best on solid wood in decent shape. Paint hides repairs, mismatched wood and veneer flaws. Test both on a hidden spot if you're unsure.
Is it safe to refinish old furniture?
It can be, with care. Very old pieces may have lead in the paint, so test before sanding. Work with good ventilation, wear gloves, safety glasses and a dust mask, and follow every product label.