How to Paint a Room
To paint a room well, spend most of your effort on prep: clear and protect the space, clean and patch the walls, and, in homes built before 1978, test for lead paint before you sand or scrape anything. Then cut in the edges with a brush, roll the walls in sections, and give each coat the drying time the label calls for.
Painting is a classic weekend project in our DIY & Repairs section, and it's where we cover lead paint safety in depth, because so many US homes are old enough for it to matter.
Lead paint: test before you sand
Homes built before 1978 may have lead-based paint somewhere under the newer layers. Intact paint that isn't peeling is generally less of a concern. The problem starts when you disturb it: sanding, scraping, heat-stripping or cutting into painted surfaces can create fine lead dust and chips that are hazardous to breathe or swallow. Young kids and pregnant people are especially vulnerable, and pets can track dust around the house.
Here's what that means for you:
- Find out when your home was built. Your lease, closing documents or local property records usually say.
- If it's pre-1978, test before you disturb paint. You can use a lead test kit recognized by the EPA on the surfaces you plan to sand, or hire a certified lead inspector or risk assessor for a fuller picture.
- If the test is positive or you're unsure, skip dry sanding, power sanding, open-flame torches and heat guns on those surfaces. Many people decide to hire a professional for that work.
- If you hire someone, check certification. Under the EPA's Renovation, Repair and Painting (RRP) Rule, contractors paid to do work that disturbs paint in pre-1978 homes must be lead-safe certified. Ask to see proof before work starts.
- Renters: tell your landlord before you sand or scrape anything in an older building. Many leases require permission to paint, too.
If your walls test negative, or your home is newer, you can move on to normal prep.
What you'll need
- Paint and primer, enough for two coats (the can label lists coverage)
- An angled 2- to 2.5-inch brush for cutting in
- A roller frame, roller covers sized for your wall texture, a tray and an extension pole
- Painter's tape, drop cloths and a small bucket
- A step ladder
- Spackle, a putty knife and a sanding sponge
- A screwdriver for outlet and switch covers
- Safety glasses, gloves and good ventilation
Step 1: Prep the room
- Move furniture to the center and cover it. Lay drop cloths along every wall.
- Remove outlet covers, switch plates and wall hardware. Keep screws in a labeled bag.
- Wipe walls with a damp cloth to remove dust. In kitchens and bathrooms, use a mild cleaner, follow its label, and rinse.
- Fill nail holes and dings. Our guide to patching drywall covers holes of every size, plus why patched spots need primer.
- Look for water stains or peeling near sinks, tubs and windows. Paint won't hold over damp walls, so fix the source first. A dripping tap is something our guide to fixing a leaky faucet can help with; leaks inside the wall need a plumber.
- Tape edges you want crisp, like trim and ceilings, pressing the tape down firmly.
Step 2: Prime where it's needed
Prime over patches, stains, bare drywall, glossy surfaces and any dramatic color change, such as going from dark red to pale gray. Follow the label for drying time before you paint.
Step 3: Cut in the edges
"Cutting in" means brushing a band of paint along the edges a roller can't reach.
- Dip the brush about a third of the way into the paint and tap off the extra.
- Start an inch or so from the edge and work toward it in a smooth stroke.
- Paint a band about 2 to 3 inches wide around trim, corners, the ceiling line and outlets.
- Cut in one wall at a time, then roll that wall while the edges are still wet. This helps the brushed and rolled areas blend.
Step 4: Roll the walls
- Load the roller evenly in the tray, rolling it on the ridges so it's full but not dripping.
- Roll a large "W" or "M" shape about 3 feet wide, then fill it in without lifting the roller.
- Work from top to bottom, overlapping each section slightly while the paint is still wet.
- Finish each section with light, straight strokes in one direction.
- Let the first coat dry per the label, then apply a second coat the same way.
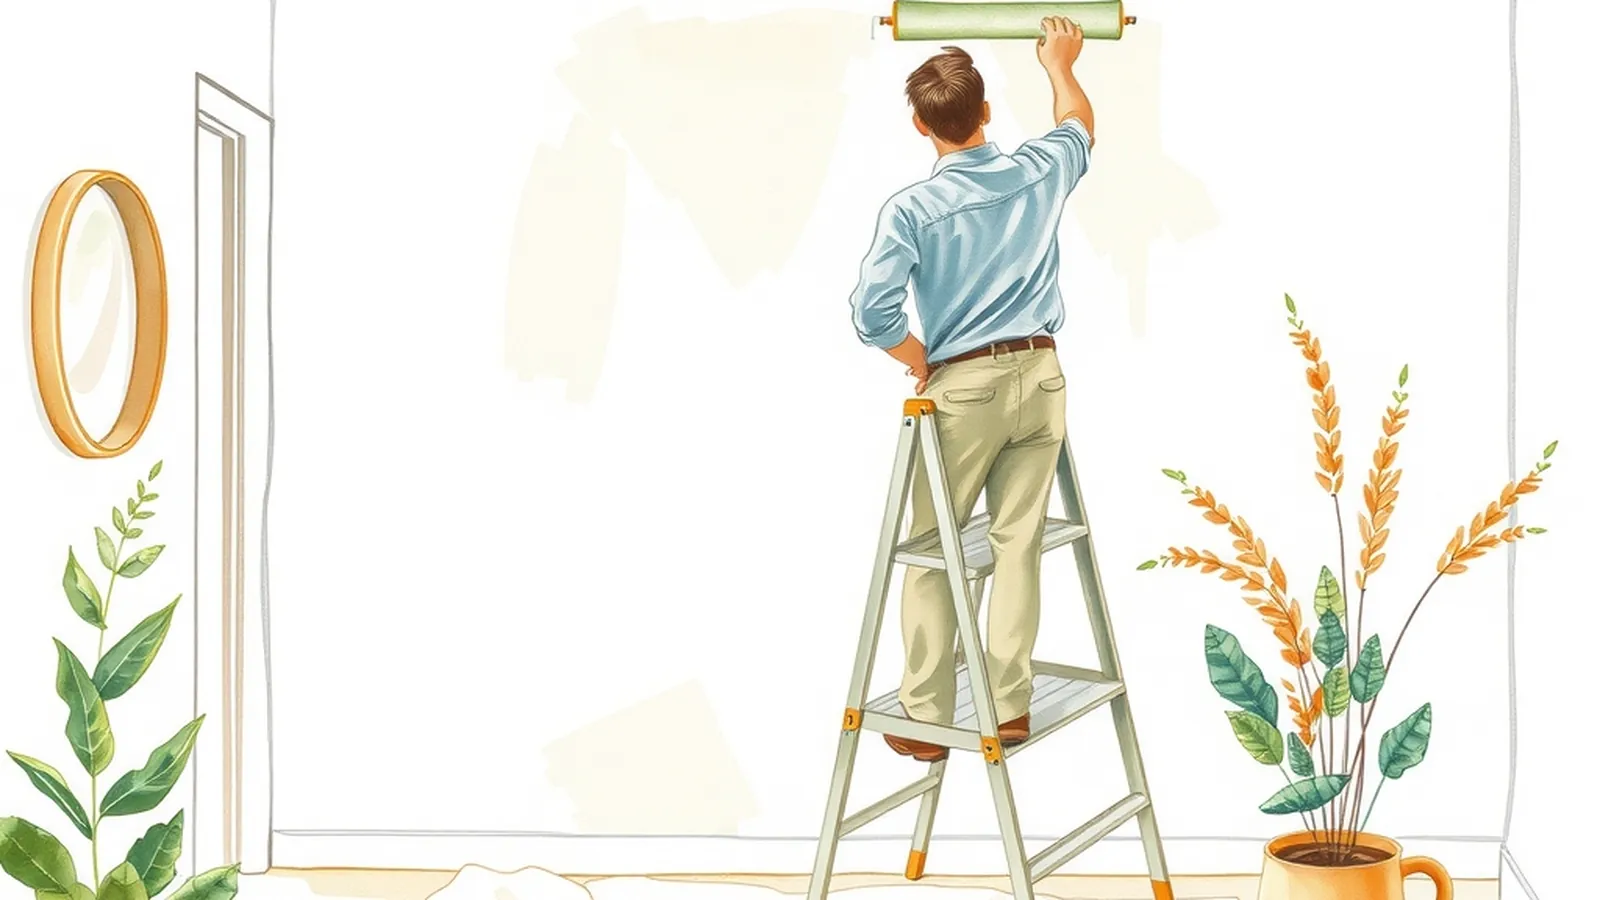
Use your ladder on a flat floor, keep both feet on the steps, and move it instead of leaning out. A helper is handy for steadying the ladder and passing up supplies.
Step 5: Clean up the right way
- Pull tape while the final coat is slightly tacky, peeling at an angle.
- Clean brushes and rollers following the paint label. Water-based paints usually clean with water; oil-based paints need the solvent the label names.
- Don't pour paint or solvent down a sink or storm drain. Paint can clog pipes and harm waterways. If a sink does slow down after cleanup, our guide to clearing a drain without chemicals walks through safe steps. Ask your local waste agency how to dispose of leftover paint.
- Store leftover paint sealed, out of reach of kids and pets, for touch-ups.
A worked example: a bedroom in a 1960s house
Example: Morgan, 38, bought a house built in the 1960s and wants to repaint the main bedroom. Before sanding the old trim, they use an EPA-recognized test kit, which shows lead on the window trim but not the walls. They paint the walls themselves after patching and priming, and hire a lead-safe certified contractor to handle the trim. It takes longer to plan, but the room gets done without anyone breathing lead dust.
Keep it looking fresh
Painted walls last longer with a gentle wipe-down now and then. Adding "wipe scuffs and check for chips" to a monthly cleaning schedule helps you catch problems while a touch-up is still a five-minute job.
Something to do this weekend
Find out when your home was built. If it's before 1978, pick up a lead test kit and test the surfaces you plan to paint. If it's newer, choose one small room, such as a bathroom or hallway, and do the prep: clear it, clean the walls, patch holes and tape the trim. Painting goes quickly once the prep is done.
Want a step-by-step plan or guide?
Some people like the structure of a paid guide or set of plans. This button opens a third-party program from one of our advertising partners. Its claims are its own, not ours, so weigh them against our checklist for judging paid plans.
See the partner program →We may be paid when you click. The program shown can change. Read its terms before you buy anything. How this works
Frequently asked questions
How do I know if my walls have lead paint?
If your home was built before 1978, assume it might until you test. You can use a lead test kit recognized by the EPA or hire a certified inspector or risk assessor. Don't sand or scrape until you know.
Do I need primer if I'm painting over an existing color?
Not always. Primer helps over patches, stains, glossy surfaces, bare drywall and big color changes. Check the paint can label, which usually says when a primer is recommended.
How long should I wait between coats of paint?
Follow the drying and recoat times on the label, since they vary by product, temperature and humidity. Painting the second coat too early can leave streaks and peel the first coat.