Canning for Beginners
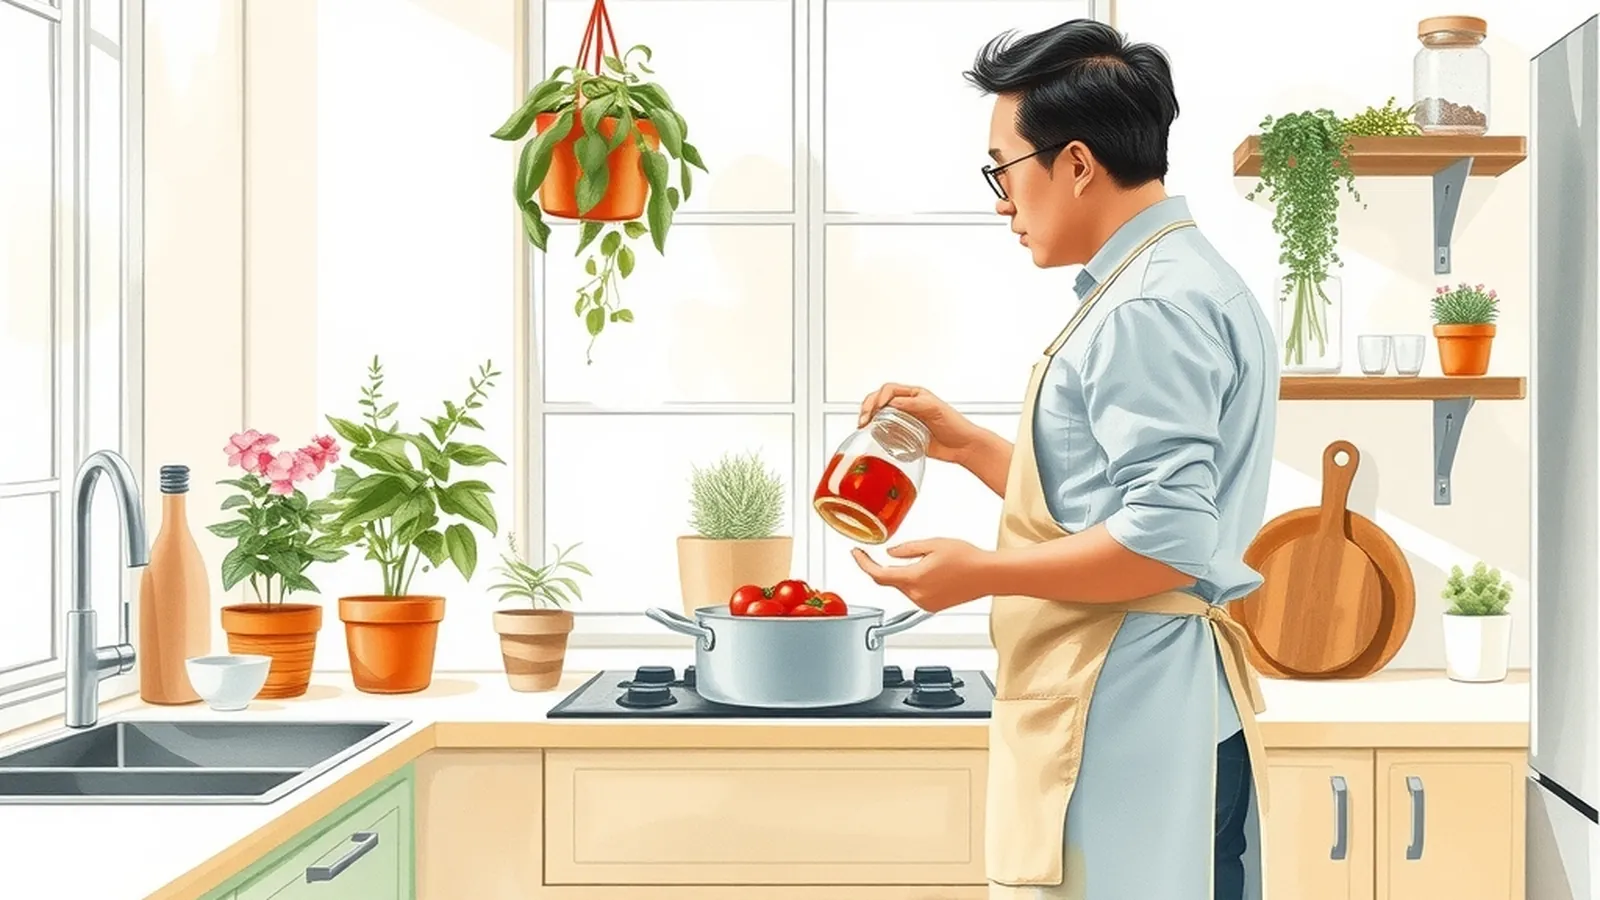
Canning is a way of preserving food in sealed jars by heating it enough to destroy spoilage organisms and form a vacuum seal. For beginners, two rules matter above everything else: use only tested recipes from the USDA or the National Center for Home Food Preservation, and match the method to the food, a boiling water bath for high-acid foods and a pressure canner for low-acid foods. Follow those rules exactly and canning becomes a satisfying, repeatable kitchen skill.
Canning is one of several preserving methods in our Backyard Homestead section. It takes more care than freezing or drying, so this page focuses on doing it safely.
Why tested recipes are the only safe kind
The USDA publishes the Complete Guide to Home Canning, and the National Center for Home Food Preservation publishes tested recipes and guidance online. "Tested" means the recipe's ingredients, jar size, preparation and processing time have been worked out so the food inside heats enough to be safe.
That's why you shouldn't:
- Change the amounts of vegetables, acid, sugar or salt beyond what a recipe allows.
- Swap jar sizes or pack food more tightly than directed.
- Thicken a sauce with flour or other starches before canning unless the tested recipe says to.
- Shorten a processing time, or invent your own time for a family recipe.
- Use methods such as oven canning, open-kettle canning or the dishwasher, which aren't tested or safe.
Processing times and methods also depend on your altitude. Tested recipes include altitude adjustments, so look up your elevation and follow the adjustment exactly.
If a recipe from a blog, a relative or an old cookbook doesn't come from a tested source, don't can it. You can often freeze it instead.
Water bath vs pressure canning
The method depends on how acidic the food is.
| Boiling water bath | Pressure canning | |
|---|---|---|
| For | High-acid foods | Low-acid foods |
| Examples | Most fruits, jams and jellies, pickles, tomatoes with added acid per a tested recipe | Most plain vegetables, meats, poultry, fish, beans, soups and stocks |
| Equipment | A large deep pot with a rack and lid | A pressure canner (not a regular pressure cooker or multi-cooker unless the maker and tested guidance say it's approved for canning) |
| Why | Acid helps keep dangerous bacteria from growing | Only the higher heat inside a pressure canner can make low-acid foods safe from botulism |
Botulism is a rare but serious and sometimes fatal illness. The bacteria behind it thrive in low-acid, airless conditions like a sealed jar, which is why low-acid foods must be pressure canned. Tomatoes sit near the line between high and low acid, so tested recipes tell you exactly how much lemon juice or citric acid to add.
Equipment for a first batch
For water bath canning you'll need:
- Mason-style canning jars made for home canning, with no chips or cracks.
- New two-piece lids and screw bands sized for the jars.
- A large, deep pot with a lid and a rack to keep jars off the bottom.
- A jar lifter, a canning funnel and a clean, nonmetal bubble remover or spatula.
- Clean towels, a timer and a tested recipe printed or open in front of you.
For pressure canning, add a pressure canner and its manual. Dial-gauge canners need their gauges checked for accuracy; your local Cooperative Extension office may be able to test yours or tell you where to go.
A first water bath session, step by step
This is the general flow. Your tested recipe gives the specific details, and it always wins.
- Read the whole recipe twice before you start, including headspace and processing time.
- Wash jars, lids and bands in hot, soapy water and keep jars hot as the recipe directs.
- Prepare the food exactly as written, using fresh, washed produce at its best.
- Fill the jars, leaving the headspace the recipe lists, and remove air bubbles.
- Wipe the rims clean, add lids and turn bands until just fingertip-tight.
- Process the jars in the canner for the full time the recipe gives, adjusted for your altitude.
- Cool the jars on a towel, away from drafts, and leave them alone while they seal.
- Check every seal after cooling. Refrigerate and use any jar that didn't seal.
- Label and store sealed jars, bands off, somewhere cool, dark and dry.
Example (fictional): Morgan made their first batch from a tested strawberry jam recipe on a quiet Saturday morning. They printed the recipe, set out every tool before turning on the stove and kept the batch small. One jar didn't seal, so it went into the fridge to be eaten first.
Knowing when to throw a jar away
Don't taste food from a jar that shows any warning signs. Throw it away carefully if you see:
- A bulging, leaking or unsealed lid.
- Liquid spurting when you open the jar.
- Mold, unusual cloudiness, foam or an off smell.
Low-acid foods that might be contaminated need careful disposal. The National Center for Home Food Preservation explains how. If someone becomes sick after eating home-canned food, seek medical care right away, and call 911 for trouble breathing, swallowing or speaking.
Where to learn more
Many Cooperative Extension offices run hands-on canning classes, answer preservation questions and test dial gauges. To track down the office nearest you, see free gardening and home help.
If canning sounds like more than you want right now, start with something simpler. How to freeze vegetables covers blanching and packing, which works for many of the same crops. How to dry herbs is a gentle way to practice preserving with very little equipment. To see every method side by side, read ways to preserve vegetables.
Making room in the kitchen
Canning involves hot pots, lots of jars and plenty of counter space. Clearing a work zone ahead of time makes the day safer and calmer. Our guide on how to organize a kitchen helps you set up zones and find a home for canning gear between seasons.
Something to do this weekend
Find one tested recipe from the National Center for Home Food Preservation for a high-acid food you love, such as a jam or a pickle. Read it twice, list every tool it calls for and check what you already own. Look up your altitude too, so you're ready when your first batch day arrives.
Want a step-by-step plan or guide?
Some people like the structure of a paid guide or set of plans. This button opens a third-party program from one of our advertising partners. Its claims are its own, not ours, so weigh them against our checklist for judging paid plans.
See the partner program →We may be paid when you click. The program shown can change. Read its terms before you buy anything. How this works
Frequently asked questions
Can I use any recipe I find online for canning?
No. Use only tested recipes from the USDA Complete Guide to Home Canning or the National Center for Home Food Preservation, or sources that follow them exactly. Untested recipes may not heat food enough to make it safe.
Can I can green beans in a water bath?
No. Green beans and most other plain vegetables are low-acid foods, which must be pressure canned to prevent botulism. A boiling water bath is only for high-acid foods such as most fruits, jams and pickles made from tested recipes.
Can I reuse canning lids?
Follow the instructions for your jars and lids and the tested recipe you're using. Jars can often be reused if they're in good shape, but check current guidance from the National Center for Home Food Preservation before reusing any lid.