How to Organize a Kitchen
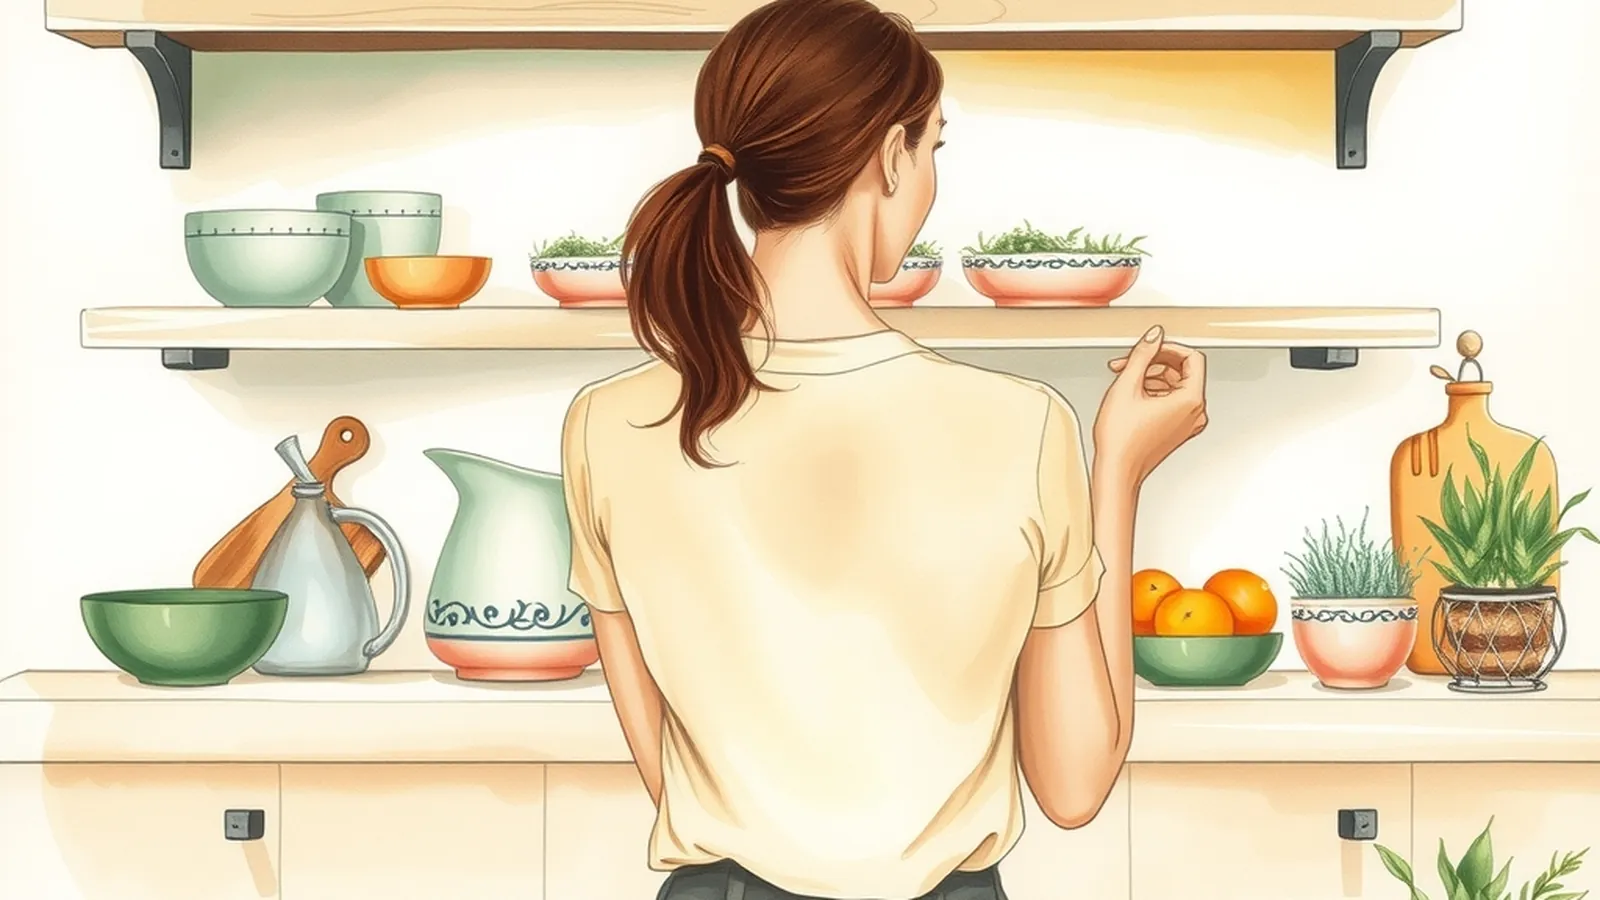
To organize a kitchen, start by clearing out what you don't use, then group everything into zones based on where you use it: cooking near the stove, prep near the biggest stretch of counter, dishes near the sink or dishwasher. Keep daily items in the easiest-to-reach spots, store rarely used things up high or out of the way, and finish each week with a short reset.
This is one of the room guides in our Clean & Organized Home section. It works for any size kitchen, from a rental galley to a family kitchen with an island.
Step 1: Empty and edit, one area at a time
Don't pull everything out at once. Pick one cabinet or drawer, empty it onto the counter and sort:
- Keep and use often.
- Keep but rarely use, like holiday platters or a roasting pan.
- Donate, like duplicate tools and gadgets you never reach for.
- Toss or recycle, like containers without lids and chipped dishes.
Wipe the empty shelf with warm soapy water and let it dry before anything goes back. If you're unsure which cleaner suits your cabinets, our guide to natural cleaning covers which surfaces handle vinegar and which need plain soap.
Step 2: Set up zones
A zone is a cluster of items stored where you use them. Here's a simple layout most kitchens can adapt.
| Zone | Location | What lives there |
|---|---|---|
| Cooking | Beside and below the stove | Pots, pans, lids, spatulas, oils, spices, pot holders |
| Prep | Largest clear counter | Cutting boards, knives, mixing bowls, measuring cups |
| Cleaning | Under and beside the sink | Dish soap, sponges, towels, trash and recycling |
| Dishes | Near the dishwasher or drying rack | Plates, bowls, glasses, everyday flatware |
| Food storage | Near the fridge or pantry | Containers, wraps, bags |
| Coffee or breakfast | One corner | Mugs, coffee, tea, cereal bowls |
| Rarely used | High shelves or another room | Holiday dishes, specialty pans, big serving pieces |
You don't need every zone. A tiny kitchen may only have cooking, cleaning and dishes. What matters is that you can reach what you need without crossing the room.
Step 3: Make cabinets work harder
Cabinets often waste space at the top of each shelf. A few general fixes:
- Shelf risers double the usable space for plates and mugs.
- Vertical dividers let you store baking sheets, cutting boards and trays on their edges so you can pull one out without lifting a stack.
- Pull-out bins in deep lower cabinets bring items at the back within reach.
- Lid organizers stop lids from sliding around.
- Turntables in corner cabinets help you spin hidden items into view.
Store heavy items like cast iron and stand mixers at waist height or below, never up high where they could fall.
Step 4: Fix the drawers
Drawers turn into junk piles quickly. Use simple dividers or small boxes so each drawer has one job.
- One drawer for everyday utensils.
- One for cooking tools like whisks, tongs and ladles.
- One for wraps, foil and bags.
- One small "junk" drawer is fine, with a divider for batteries, tape, scissors and pens.
Keep sharp knives in a block, on a magnetic strip or in a guarded drawer insert, especially if children are in the home.
Step 5: Under the sink
This cabinet holds cleaning products, so it needs extra care.
- Keep products in their original containers and store bleach away from ammonia and acidic cleaners.
- Use a small tray or bin to catch drips.
- Add a child safety latch if young kids live in or visit your home, and keep products out of pets' reach.
- Leave space around pipes so you can spot leaks. If you see dampness or a musty smell, check the pipes and read our mold and mildew guide.
Step 6: Clear the counters
Counters are your workspace, not storage. Keep out only the things you use daily. Everything else goes into the matching zone. A clear counter is also faster to wipe, which makes the evening reset quicker.
Room for food you put up yourself
If you grow food and preserve it, you'll need a spot for jars, a large stockpot and canning tools. Store that gear together on a high shelf or in a bin in a closet so it's ready when the harvest comes in. Before you start, our canning basics guide explains why only tested recipes and processing times are safe.
The weekly kitchen reset
Once a week, take 15 to 20 minutes to bring things back to order:
- Put away anything living on the counter that has a home elsewhere.
- Clear out the fridge: leftovers past their prime, wilting produce, near-empty bottles.
- Return stray tools to their zones.
- Wipe cabinet fronts and handles.
- Restock dish soap, sponges and trash bags.
- Jot down anything you ran out of for your shopping list.
Example: a small galley kitchen
This is a fictional example. Morgan's galley kitchen has one short counter beside the stove and one by the sink. They made the stove side the cooking and prep zone, with cutting boards stored on edge in the cabinet below. The sink side became cleaning and dishes. Coffee moved to a rolling cart at the end of the galley, freeing up counter space. Holiday dishes went to a bin in the hall closet.
Keep going in nearby spaces
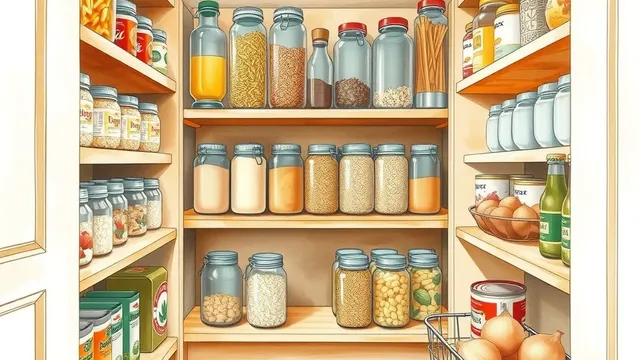
Food storage is its own project. Our pantry organization guide covers grouping, labeling and first-in, first-out rotation. The same edit-then-zone approach works in bedrooms too, as our closet organization guide shows.
Organizing a kitchen you share
When roommates, partners or family share a kitchen, systems need to be obvious. Label shelves or bins so everyone knows where things go. Give each person a shelf in the fridge and pantry if food is kept separately. Agree on a simple rule, like "dishes washed or in the dishwasher before bed." A clear system beats reminding people.
Signs a zone isn't working
Watch for clues that something should move. If you keep walking across the kitchen for the same item, store it closer to where you use it. If a cabinet always looks jumbled, it may hold too many types of things. If something hasn't been touched in months, move it to the rarely used zone or donate it.
Something to do this weekend
Choose the drawer you open most and the cabinet you dread most. Empty, edit and wipe both, then put everything back by zone. Write the zone names on a sticky note inside a cabinet door until the new spots feel natural.
Want a step-by-step plan or guide?
Some people like the structure of a paid guide or set of plans. This button opens a third-party program from one of our advertising partners. Its claims are its own, not ours, so weigh them against our checklist for judging paid plans.
See the partner program →We may be paid when you click. The program shown can change. Read its terms before you buy anything. How this works
Frequently asked questions
What should be kept on kitchen counters?
Keep only what you use almost every day, such as a coffee maker, a knife block or a utensil crock. Everything else goes in a cabinet near where you use it, which makes wiping counters much faster.
How do I organize a kitchen with very few cabinets?
Use vertical space with shelf risers, hooks under shelves and a rail on the wall if your lease allows. Store rarely used items elsewhere in the home, and keep only one of each tool.
Where should spices go?
Near the stove but not directly above it, since heat and steam can affect them. A drawer insert, a shallow shelf or a door-mounted rack all work, as long as you can see the labels.