How to Organize a Pantry
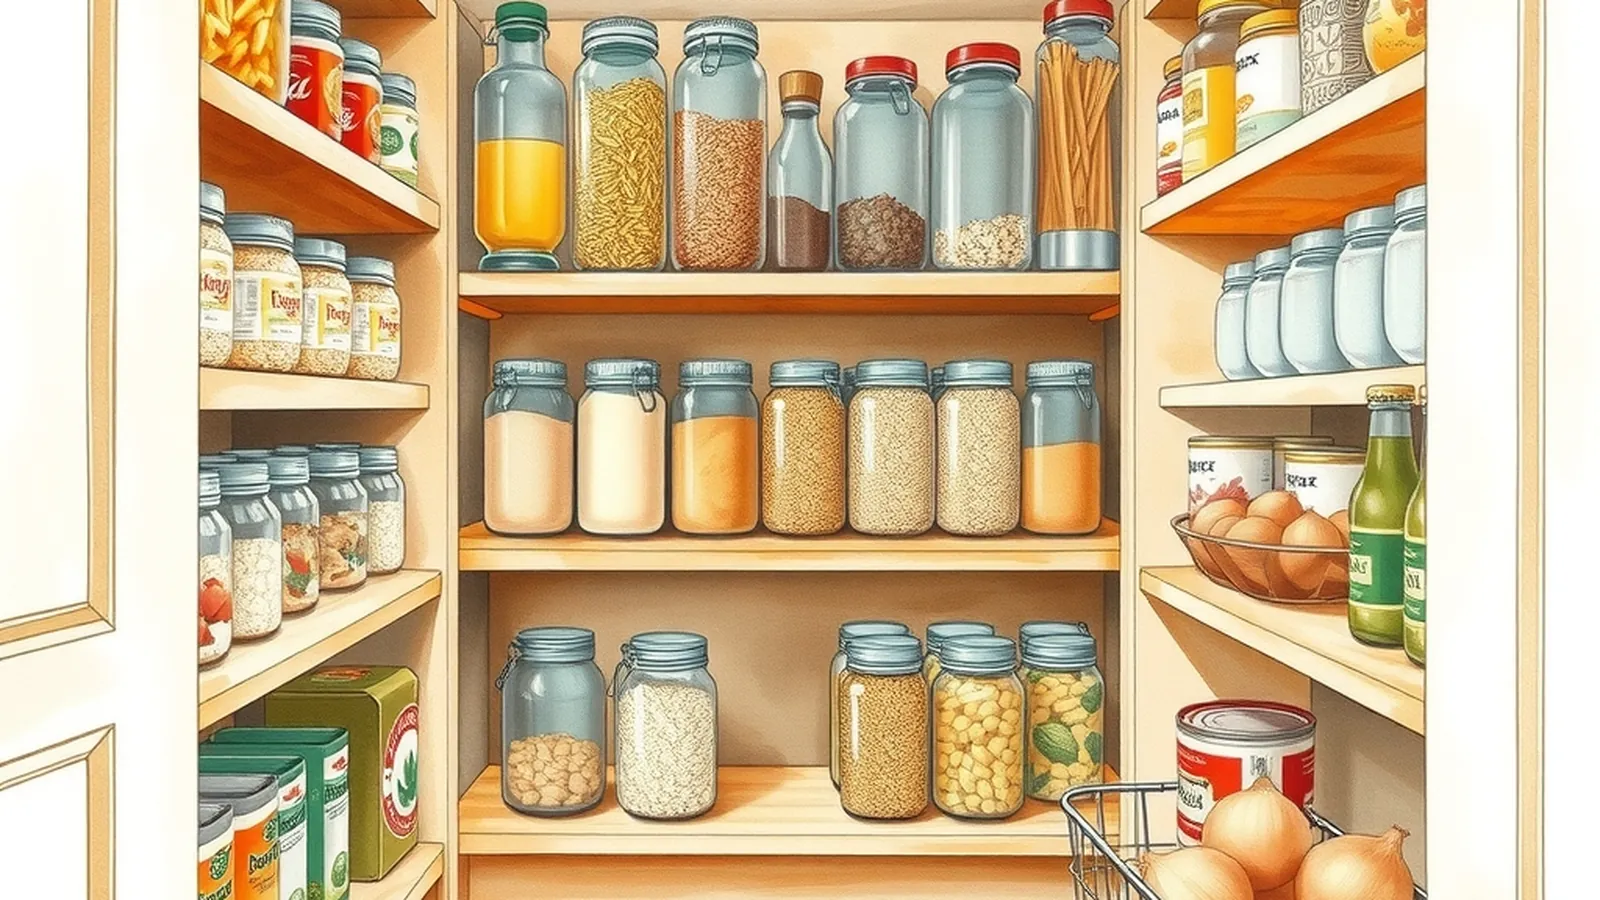
To organize a pantry, take everything out, toss what's expired or stale, group what's left by type, and put it back with the most-used foods at eye level and older items in front. Labels on shelves or bins help everyone in the household put things back in the right place, and a quick weekly check keeps the system from slipping.
Grouping and rotation are the core organizing skills in our Clean & Organized Home section, and they work for walk-in pantries, single cabinets and wire shelves in a closet alike.
Step 1: Empty and check every item
Pull everything out onto a counter or table. As you go:
- Toss foods with signs of spoilage, pests, bulging cans, rust on seams or broken seals.
- Check "best by" dates. Many are about quality rather than safety, but very old items are usually not worth keeping.
- Combine duplicate open packages of the same food.
- Set aside unopened, in-date food you won't eat for a local food bank, if they accept it.
If you find pantry moths or beetles, discard the infested food in a sealed bag outside, and check neighboring packages closely.
Step 2: Clean the shelves
With the shelves bare, vacuum crumbs from corners, then wipe with warm soapy water and dry thoroughly. Moisture left behind can encourage mold and attract pests. Our guide to natural cleaning explains which mild cleaners suit painted shelves, wood and wire.
Step 3: Group foods by type
Grouping is the heart of a working pantry. Sort what you're keeping into categories like these:
| Group | Examples | Where it goes |
|---|---|---|
| Daily breakfast | Cereal, oats, nut butter, coffee, tea | Eye level, front |
| Grains and pasta | Rice, pasta, quinoa, crackers | Eye level |
| Canned goods | Beans, tomatoes, soups, fish | Middle shelf, in rows |
| Baking | Flour, sugar, baking soda, chocolate chips | Upper shelf, together |
| Snacks | Chips, nuts, granola bars | Lower shelf if kids help themselves, higher if not |
| Oils and condiments | Oils, vinegar, sauces | Near the front, upright |
| Backstock | Extra unopened items | Top or bottom shelf |
| Heavy items | Large bags of flour, rice, pet food | Floor or lowest shelf |
Keep pet food sealed and on a low shelf or floor bin with a tight lid. Store cleaning products elsewhere, never in the food pantry.
Step 4: Rotate first in, first out
First in, first out means older food gets eaten before newer food. When you unpack groceries:
- Pull the older items forward.
- Put new items behind them.
- For canned goods, arrange cans in rows from front to back so you take from the front.
This is the single habit that cuts down on forgotten, expired food. It takes about a minute per grocery trip.
Step 5: Label what you can
Labels help the whole household. You can label shelves ("Baking," "Snacks") or label bins and containers. When you move food into a container, write the contents and the date you opened the original package on a piece of masking tape. That way you'll know how long that flour has been around.
Step 6: Add containers slowly
Clear, airtight containers are useful for foods that spill or go stale after opening: flour, sugar, rice, cereal and snacks. They also help keep pantry pests out. You don't need to decant everything. Cans, jars and unopened boxes can stay as they are.
A few low-cost helpers that suit most pantries:
- Shelf risers for cans.
- A turntable for oils and sauces.
- Bins to group small packets.
- An over-the-door rack for spices or snacks.
- A step stool for reaching top shelves safely.
Storing bulk and home-preserved food
Buying in bulk or storing your own preserved harvest needs a little more planning:
- Keep bulk dry goods in airtight containers in a cool, dry, dark spot.
- Split large bags into smaller containers so you're not opening the big supply every day.
- Store home-canned jars in a single layer or with sturdy shelving, away from heat and light, and date every lid.
- Rotate bulk items forward just like cans.
If you grow food and want to keep some through the winter, our guide to preserving the harvest compares freezing, canning, drying and cold storage so you can plan pantry space for what you'll actually put up.
Example: a single-cabinet pantry
This is a fictional example. Casey's apartment has no pantry, just one upper cabinet and a deep lower one. They moved breakfast foods and grains to the upper cabinet at eye level, added a can riser on the middle shelf and put baking supplies on the top shelf in one bin. The deep lower cabinet got pull-out bins for snacks and a floor-level bin for rice and a large bag of dog food. Extra backstock moved to a shelf in the hall closet.
Keep the system going
- Do a quick scan before every shopping trip so you don't buy duplicates.
- Wipe up spills right away.
- Empty and wipe the pantry fully each season.
Where to find free food storage help
You don't need a paid program to learn food storage. For home-preserved food, rely on tested guidance from the USDA or the National Center for Home Food Preservation rather than guessing. For gardening questions that lead to a fuller pantry, our guide to free gardening and home help explains what your local Cooperative Extension office and public library offer.
Related organizing projects
If your pantry overflows, it may be a storage problem rather than a food problem. Our small-space storage guide covers vertical shelves, carts and door storage. The same edit, group and label steps work for clothes too, as our closet organization guide shows. And once food is sorted, carry the zones into the rest of the room with our kitchen organization guide.
Something to do today
Pull everything off one pantry shelf, check dates, wipe the shelf and put back only what belongs there, older items in front. Tape a simple label to the shelf edge. One shelf done today makes the next shelf easier tomorrow.
Want a step-by-step plan or guide?
Some people like the structure of a paid guide or set of plans. This button opens a third-party program from one of our advertising partners. Its claims are its own, not ours, so weigh them against our checklist for judging paid plans.
See the partner program →We may be paid when you click. The program shown can change. Read its terms before you buy anything. How this works
Frequently asked questions
Do I need matching containers to organize a pantry?
No. Grouping foods and keeping older items in front matters far more than matching jars. Add containers slowly, only for foods that spill, go stale or attract pests once opened.
How often should I clean out my pantry?
A quick check once a week when you make a shopping list keeps it tidy, with a full empty-and-wipe a few times a year. Seasonal changes are an easy reminder.
What if I don't have a pantry?
Any cabinet, shelf unit or rolling cart can work as a pantry. Choose a spot away from the stove, dishwasher vent and sunny windows, since heat and light shorten shelf life.