How to Start Seeds Indoors
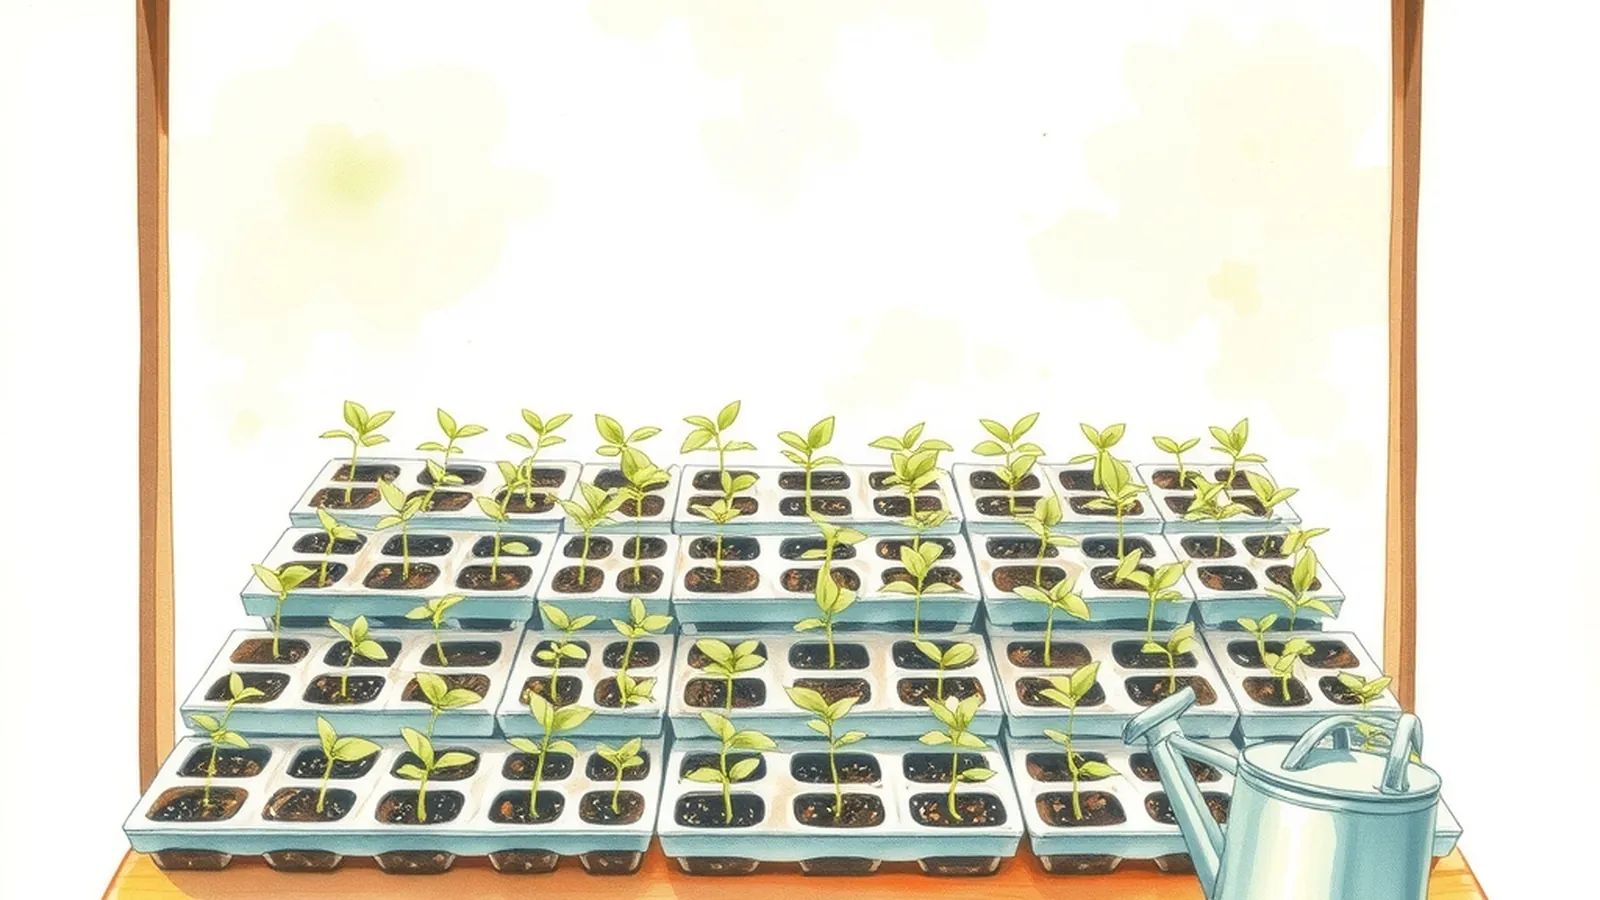
To start seeds indoors, count back from your last spring frost date by the number of weeks on the seed packet, sow seeds in clean containers filled with seed-starting mix, keep them warm and evenly moist until they sprout, then give them strong light for many hours a day. A week or two before planting outside, harden them off by moving them outdoors for a little longer each day.
Seed starting builds on the basics in our Garden Basics section. It lets you grow varieties you can't find as transplants and get a head start on slow crops.
Which seeds to start indoors
Not every crop needs a head start. Some do better sown right in the garden.
| Start indoors | Sow directly outside | Either way |
|---|---|---|
| Tomatoes | Beans | Lettuce |
| Peppers | Peas | Kale |
| Eggplant | Carrots | Cabbage family crops |
| Many herbs, such as basil | Radishes | Squash and cucumbers (start indoors only a few weeks early) |
| Onions from seed | Beets | Flowers such as zinnias |
Root crops like carrots and radishes usually don't transplant well. Fast-growing beans and peas often grow just as well when sown outdoors.
Step 1: Work out your timing
Timing is the part beginners most often get wrong.
- Find your average last spring frost date from your local Cooperative Extension office.
- Check the seed packet for how many weeks before that date to start seeds indoors.
- Count back on a calendar and write the sowing date for each crop.
Here's an example for a fictional gardener, Drew, whose average last frost date falls in late April. Drew's dates might look like this:
| Crop | Packet says start | Drew sows around |
|---|---|---|
| Peppers | 8 to 10 weeks before last frost | Mid to late February |
| Tomatoes | 6 to 8 weeks before last frost | Early to mid March |
| Basil | 4 to 6 weeks before last frost | Mid to late March |
| Squash | 2 to 4 weeks before last frost | Early April |
Your dates will be different. Starting too early gives you overgrown, root-bound seedlings that struggle after transplanting.
Step 2: Gather supplies
- Containers: cell trays, small pots or recycled containers with drainage holes. Clean used ones with soapy water and rinse well.
- Seed-starting mix: a fine, light mix made for seeds. Garden soil is too heavy and may carry disease.
- A tray underneath to catch water.
- A clear cover or plastic dome to hold humidity until seeds sprout.
- Light: a grow light or a very bright window.
- Optional: a seedling heat mat for warm-season crops like peppers.
Step 3: Sow the seeds
- Moisten the seed-starting mix until it feels like a damp sponge.
- Fill containers and press the mix down gently.
- Plant two or three seeds per cell at the depth listed on the packet. A common guide is about two to three times the seed's width, and some tiny seeds need light and sit right on the surface.
- Label each row so you remember what's where.
- Cover with a clear dome or plastic and place in a warm spot.
Step 4: Light, water and warmth
As soon as seedlings appear, remove the cover and give them light.
- Light: keep grow lights just a few inches above the seedlings and raise them as plants grow. Many gardeners run lights for long days using a timer. Our guide to whether grow lights work explains light types, distance and hours.
- Water: keep the mix evenly moist but not soggy. Bottom watering, by adding water to the tray and letting the mix soak it up, helps prevent damping off, a fungal problem that makes seedlings collapse.
- Air: a small fan on low nearby improves airflow and can help stems grow sturdier.
- Temperature: most seedlings grow well in normal room temperatures once they've sprouted.
Step 5: Thin and feed
When seedlings have their first set of true leaves, which look like the adult plant's leaves, snip extras at soil level with scissors so one strong seedling remains per cell. Pulling can damage the roots of the one you keep.
Seed-starting mix contains few nutrients. Once true leaves appear, many gardeners feed with a diluted fertilizer as the product label directs. Our fertilizer basics guide explains how to read those labels.
If seedlings outgrow their cells before it's time to plant out, move them into slightly larger pots.
Step 6: Harden off
Seedlings raised indoors aren't used to sun, wind or cool nights. Hardening off gets them ready over a week or two:
- Start with an hour or two outside in a sheltered, shady spot.
- Each day, leave them out a bit longer and give them a little more sun.
- Bring them in if nights are cold or storms are coming.
- By the end, they should handle a full day and night outside.
Water carefully during this time, since pots dry out faster outdoors.
Step 7: Transplant
Plant out on a cloudy day or in the evening, after your last frost date for tender crops. Water well right after planting. If you haven't planned your beds yet, our guide to how to start a garden walks through picking a spot and preparing soil.
Common problems
| Problem | Likely cause | Fix |
|---|---|---|
| Seeds don't sprout | Too cold, too dry, too deep or old seed | Check packet depth and temperature, keep mix moist |
| Seedlings fall over at the base | Damping off | Bottom water, improve airflow, use clean containers and fresh mix |
| Tall, thin, floppy stems | Too little light | Lower the light, run it longer |
| Pale or yellow leaves | Low nutrients or too much water | Feed lightly per label, let mix dry slightly |
| Leaves scorched after going outside | Skipped hardening off | Shade plants and harden off gradually next time |
Tools that help
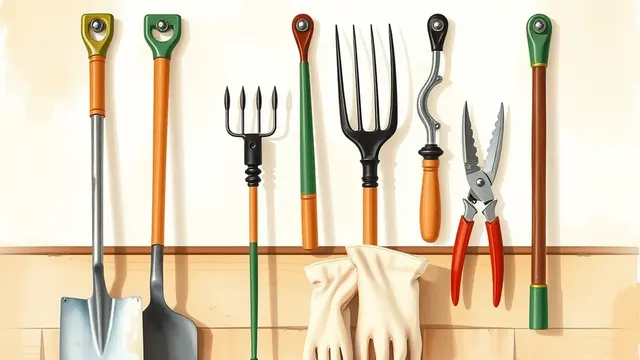
A few simple tools make seed starting easier, including a small watering can with a fine rose, labels and a timer for your lights. Our garden tools guide lists what's worth having.
Something to do this week
Pick two crops you want to grow from seed. Find your last frost date, check each packet and write the indoor sowing dates on your calendar. Then gather your containers and seed-starting mix so you're ready when the date arrives.
Want a step-by-step plan or guide?
Some people like the structure of a paid guide or set of plans. This button opens a third-party program from one of our advertising partners. Its claims are its own, not ours, so weigh them against our checklist for judging paid plans.
See the partner program →We may be paid when you click. The program shown can change. Read its terms before you buy anything. How this works
Frequently asked questions
When should I start seeds indoors?
Count back from your average last spring frost date using the number of weeks listed on the seed packet. Many common crops are started somewhere from about four to ten weeks before that date, depending on the plant.
Do I need grow lights to start seeds?
Not always, but a sunny window often isn't enough, and seedlings may grow tall and floppy. A simple grow light kept close to the seedlings usually gives sturdier plants.
Why are my seedlings tall and thin?
That's usually a sign of too little light, and sometimes too much warmth. Move the light closer, keep it on longer and grow seedlings a little cooler once they've sprouted.