How to Plan a Garden Layout
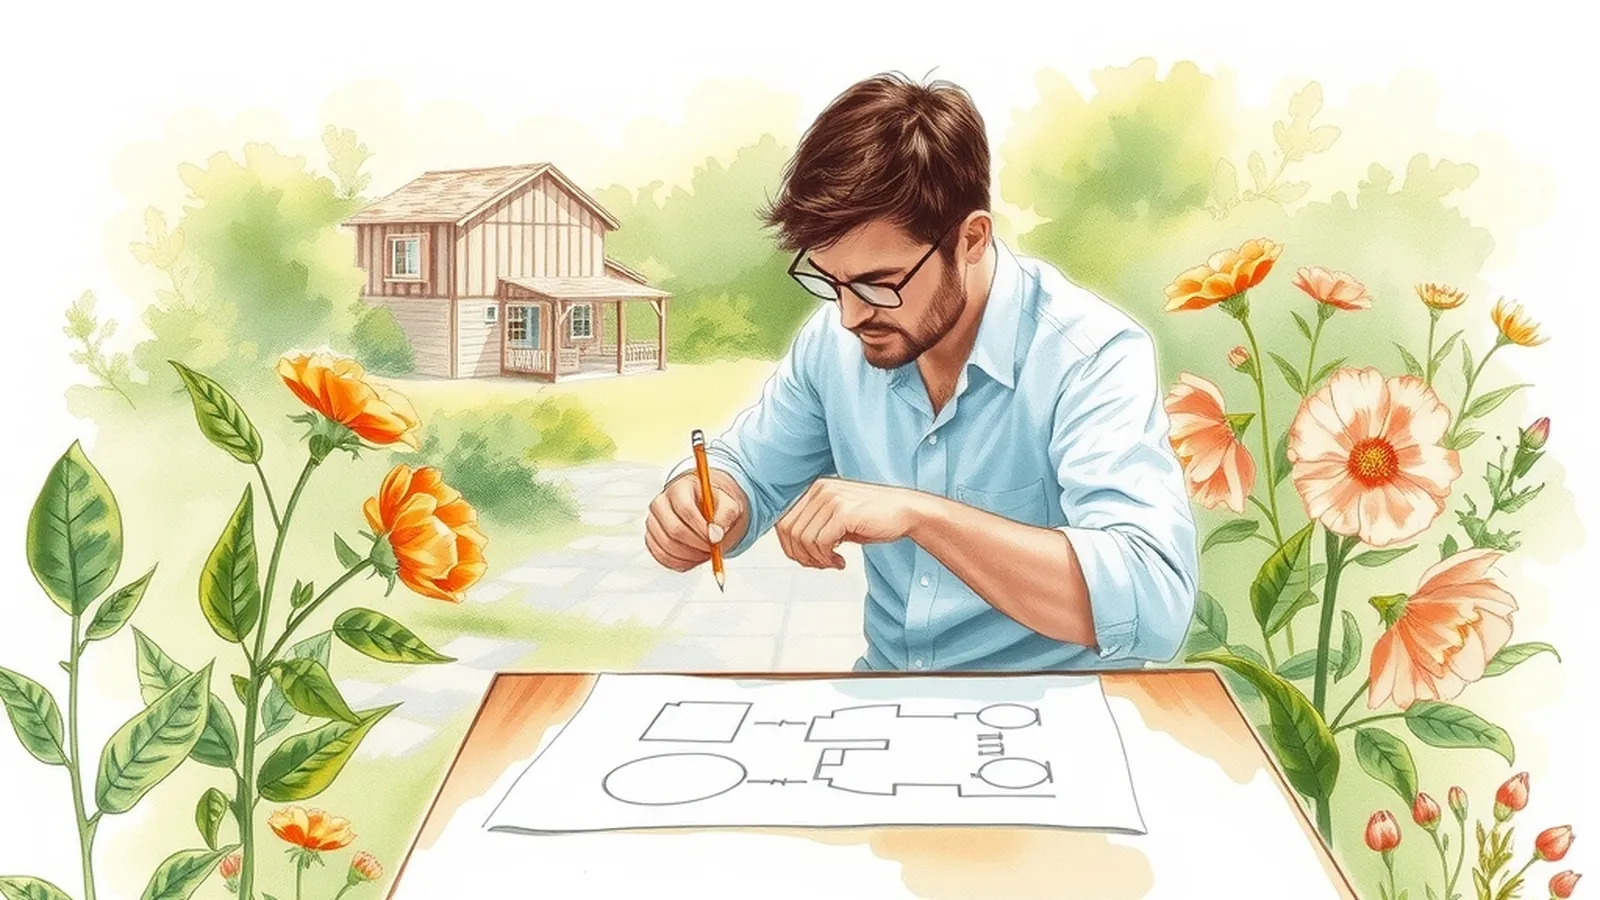
To plan a garden layout, measure your space, mark where the sun falls, sketch beds no wider than you can reach across, leave paths between them, and place tall plants on the north side so they don't shade shorter ones. Then fill in each bed using the spacing on your seed packets or plant tags. A sketch takes an hour and saves a season of crowding and guesswork.
Planning is one of the foundations in our Garden Basics section, alongside soil, sun and water. Here's how to do it step by step.
Why plan on paper first
Plants are small when they go in and large by midsummer. A row of tomato seedlings that looks sparse in spring can turn into a jungle that shades your beans and blocks the path. Drawing a plan helps you:
- Fit plants at their full size, not their seedling size
- Keep tall crops from shading short ones
- Leave room to walk, kneel and harvest
- Group plants that need similar water
- Remember what you planted where, which helps with rotating crops next year
Step 1: Measure and map your space
Grab graph paper, a pencil and a tape measure. Let one square equal one foot. Draw the outline of your garden area and add anything fixed: fences, trees, the house, a shed, the water spigot and any slopes or low spots.
Then add sun notes. Mark which parts get morning sun, midday sun and afternoon sun. If you haven't tracked your light yet, our guide to full sun vs partial shade shows you how to make a simple sun map in one day. Put your sunniest plants in your sunniest spots.
Step 2: Draw your beds
Beds work best when you can reach the middle without stepping on the soil. Stepping on soil packs it down and makes it harder for roots to grow.
- Width: about 3 to 4 feet if you can reach from both sides, or about 2 feet against a fence or wall.
- Length: whatever fits. Shorter beds mean less walking around.
- Shape: rectangles are easiest to plan and plant, but curves are fine if you like them.
If your soil is poor or you want a tidier look, raised beds are a good option. Our guide to building a raised garden bed covers sizes, filling soil and placement.
Step 3: Add paths
Paths are easy to forget and hard to add later. Plan for:
- Main paths wide enough for a wheelbarrow or garden cart
- Side paths between beds wide enough to kneel
- A path to the water source so hoses don't drag across plants
Cover paths with wood chips, straw, gravel or mown grass to keep mud and weeds down.
Step 4: Place plants by height and need
A few simple rules help most layouts:
- Tall plants go on the north side. Corn, pole beans, staked tomatoes and trellised cucumbers cast shade. Keep them north so they don't block the sun for shorter crops.
- Short and quick crops go on the south side. Lettuce, radishes, carrots and herbs fit along the sunny front edge.
- Sprawlers go on the edges. Squash, pumpkins and melons spread wide. Put them where they can run onto a path or lawn edge.
- Thirsty plants go together. Grouping plants with similar water needs makes watering easier.
- Herbs near the door. You'll use them more if they're close to the kitchen.
Step 5: Check spacing
Each seed packet or plant tag lists a spacing distance. Use it. Crowded plants compete for light and water, and poor airflow can encourage leaf diseases. Here's a rough idea of how much room some common crops want, though you should always check the packet for your variety:
| Crop | Space needs | Notes |
|---|---|---|
| Tomatoes | Large | Need staking or caging |
| Zucchini and squash | Very large | Spread several feet |
| Peppers | Medium | Stay fairly compact |
| Bush beans | Small to medium | Can be planted in blocks |
| Lettuce | Small | Fits between larger plants |
| Carrots and radishes | Very small | Thin seedlings to the packet spacing |
Step 6: Plan the timing
A layout is also a calendar. Cool-season crops like peas and lettuce can go in early and come out by midsummer, leaving room for something else. Warm-season crops go in after your last frost date. Your planting zone and local frost dates set that timing, so look them up before you finalize your plan.
A sample plan
Here's an example for a fictional gardener, Jordan, who has a sunny 10-by-12-foot area along a south-facing fence.
- Two beds, each 4 feet wide and 10 feet long, with a 2-foot path between them
- North end of both beds: tomatoes on stakes and pole beans on a trellis
- Middle: peppers and bush beans
- South end: lettuce, radishes, basil and parsley
- Outside corner: one zucchini plant with room to sprawl onto the lawn edge
- Spring: lettuce and radishes go in first, then warm crops follow once nights stay warm
- Late summer: spent lettuce space is resown with a fall round of greens
This is only an example. Your plan should fit your own light, soil and favorite foods.
Common planning mistakes
- Planting too much in year one
- Forgetting paths, then stepping on beds
- Putting tall crops where they shade everything else
- Placing the garden far from water
- Not writing down what went where
Keep your plan
Save your sketch and note what grew well, what struggled and when you planted each crop. Next year, move plant families to a different spot when you can. Rotating crops helps reduce some soil-borne problems.
If this is your first garden, our step-by-step guide to starting a garden covers choosing a spot, preparing soil and picking easy first plants before you start drawing.
Something to do this weekend
Measure your garden area and draw it on graph paper, one square per foot. Add the fence, the spigot and arrows showing where the sun comes from. You'll have the bones of your plan done before Sunday dinner.
Want a step-by-step plan or guide?
Some people like the structure of a paid guide or set of plans. This button opens a third-party program from one of our advertising partners. Its claims are its own, not ours, so weigh them against our checklist for judging paid plans.
See the partner program →We may be paid when you click. The program shown can change. Read its terms before you buy anything. How this works
Frequently asked questions
Which direction should garden rows face?
In much of the US, running rows or beds roughly north to south helps both sides get light through the day. More important is putting tall crops on the north side so they don't shade shorter ones.
How wide should garden paths be?
Wide enough to walk and kneel comfortably, and wide enough for a wheelbarrow if you'll use one. Many gardeners find a couple of feet works well for main paths.
Should I plan my garden on paper or with an app?
Either works. Graph paper is cheap, fast and easy to mark up in the garden. The tool matters less than measuring your space accurately and noting where the sun falls.