How to Hang Shelves
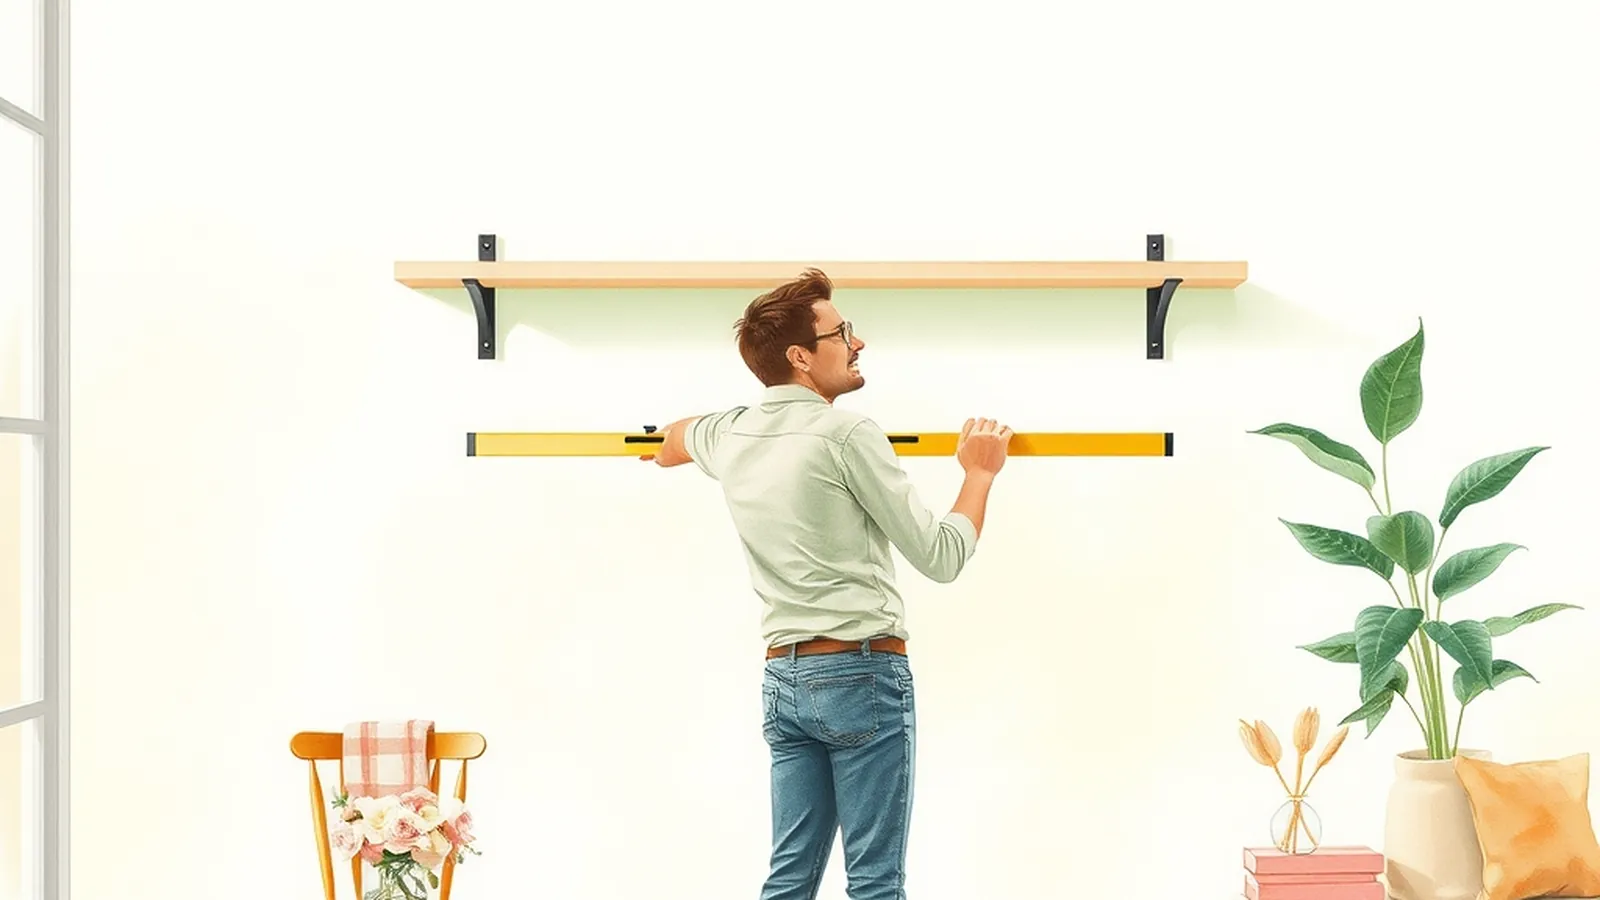
To hang a shelf that holds, you need to do three things: screw the brackets into wall studs or into anchors rated for the load, mark a level line before you drill, and keep the weight you store at or below the limit printed on the packaging. Most single shelves take less than an hour once you have the right hardware.
Shelves are one of the most satisfying first projects in our DIY & Repairs section, because the result is useful the same day.
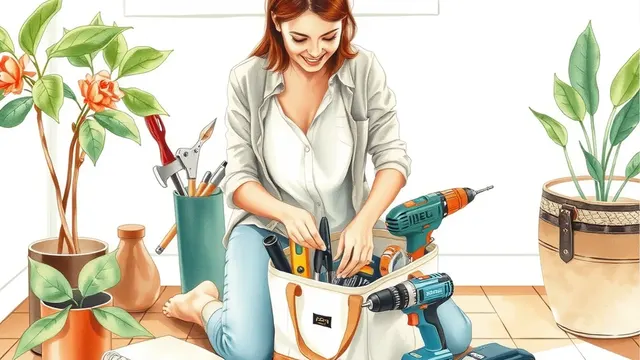
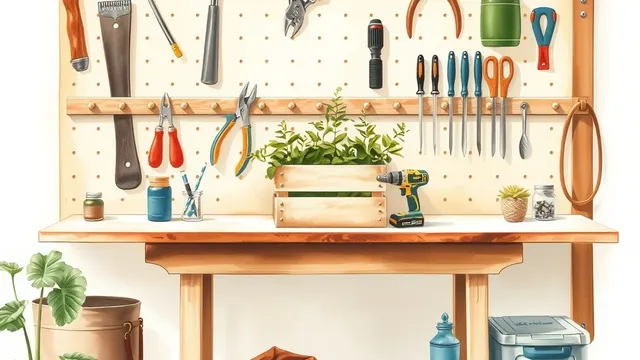
What you'll need
- A stud finder
- A cordless drill with bits matched to your screws and anchors
- A level (a 24-inch level is easier than a short one for shelves)
- A pencil and a tape measure
- Painter's tape
- The shelf, brackets and screws, plus wall anchors if you won't hit studs
- Safety glasses
If you're still collecting basics, our starter tool kit list covers everything here and what else is worth having around.
Step 1: Decide where the shelf goes, and check what's behind the wall
Hold the shelf up and mark a light pencil line where you want the top. Think about what you'll store. Books and dishes are heavy; plants and picture frames are lighter.
Before you drill, think about what might be inside the wall:
- Wires often run straight up and down from outlets and switches. Avoid drilling directly above or below them.
- Pipes run behind and near kitchens and bathrooms, and on walls that share space with them.
- Many stud finders have a setting that detects live wires. Use it as an extra check, not the final word.
If you're unsure, pick a different spot. Drilling into wiring or a pipe is a job for a licensed electrician or plumber to fix, so it's worth a few minutes of caution.
Step 2: Find the studs
Studs are the vertical wood or metal framing behind drywall. Screwing into them gives you the strongest hold.
- Calibrate your stud finder on the wall, following its instructions.
- Slide it slowly sideways and mark both edges of each stud with painter's tape.
- Mark the center between the edges.
- Confirm by measuring to the next stud. In many US homes studs are about 16 inches apart on center, but older homes vary.
- If you want to be sure, drive a thin finishing nail through the wall where the bracket will cover it. You'll feel solid wood or the nail will slide through.
Plaster walls in older homes can confuse stud finders. Take your time, and expect to use more test holes.
Step 3: Choose anchors if you can't hit studs
Sometimes the studs aren't where your shelf needs to be. Wall anchors let you hang into drywall alone. Each type has a different job:
| Anchor type | Good for | Notes |
|---|---|---|
| Plastic expansion anchor | Very light items | Easy to install; limited strength |
| Self-drilling threaded anchor | Light to medium shelves | Screws straight into drywall |
| Molly bolt (sleeve anchor) | Medium loads | Expands behind the wall |
| Toggle bolt | Heavier loads on drywall | Needs a larger hole; wings open behind the wall |
The weight rule: look at the rating on the anchor package and the rating on the shelf or bracket package. Your real limit is the lower of the two. Ratings assume correct installation in sound drywall, so if the wall is soft, damp or crumbly, don't trust the number. Fix that problem first.
Step 4: Mark a level line and the bracket holes
- Set your level on the pencil mark and draw a straight line the length of the shelf.
- Hold the first bracket against the line over a stud (or where your anchor will go) and mark the screw holes.
- Measure across to the second bracket position and mark those holes on the same line.
- Put a piece of painter's tape over each mark. It reduces chipping when you drill and makes marks easy to see.
Step 5: Drill and mount
- Put on safety glasses.
- For studs, drill a pilot hole slightly smaller than your screw. For anchors, drill the hole size the package specifies.
- Install anchors if you're using them, following the package directions.
- Screw the first bracket in loosely, check it with the level, then tighten.
- Attach the second bracket, check level across both, and tighten.
- Set the shelf on the brackets and fasten it if the hardware includes screws for that.
- Press down firmly on the shelf. It shouldn't flex, creak or pull at the wall.
Floating shelves and heavier loads
Floating shelves hide their hardware inside the shelf, which looks clean but puts more leverage on the wall. Follow the manufacturer's installation instructions closely and use studs whenever you can.
For heavy loads, like a wall of books or a shelf that will hold a large aquarium, choose brackets and fasteners rated well beyond what you plan to store, and anchor into studs. For anything that would hurt someone if it fell, like a tall bookcase, use the anti-tip kit that comes with it.
A worked example: a closet shelf
Example: Sam, 34, wants an extra shelf above the hanging rod in a hall closet. They find two studs with the stud finder, mark a level line, and install two steel brackets with wood screws. The shelf now holds bins of out-of-season sweaters. Pairing new shelves with the sorting steps in our guide on how to organize a closet made the space far more useful, because the bins went up only after Sam had edited what they owned.
Mistakes and how to fix them
- Hole in the wrong place: fill it with spackle and move on. Our guide to patching drywall walks through small holes and bigger repairs step by step.
- Anchor spinning in the hole: the hole is too big. Move over slightly and use a larger anchor, or find a stud.
- Shelf slightly crooked: loosen one bracket, adjust, and retighten while checking the level.
- Scuffed paint around the brackets: touch it up with leftover wall paint. If you're refreshing the whole wall, our guide on how to paint a room covers the prep that makes a new coat last.
Something to do this weekend
Pick one spot where a shelf would help, such as above a desk, in a closet or by the entryway. Use a stud finder to locate the framing there, mark it with painter's tape, and decide on hardware. Check the weight limits on the packaging before you buy, then hang the shelf and load it lightly for the first day so you can watch how it holds.
Want a step-by-step plan or guide?
Some people like the structure of a paid guide or set of plans. This button opens a third-party program from one of our advertising partners. Its claims are its own, not ours, so weigh them against our checklist for judging paid plans.
See the partner program →We may be paid when you click. The program shown can change. Read its terms before you buy anything. How this works
Frequently asked questions
Can I hang a shelf without finding a stud?
Yes, for lighter loads, by using wall anchors rated for the weight you plan to store. Check the rating on the anchor packaging and on the shelf bracket, and use the lower of the two as your limit.
How far apart should shelf brackets be?
Follow the shelf manufacturer's instructions first. On drywall, many people space brackets to land on studs, which are often 16 inches apart in US homes, but always confirm with a stud finder.
How do I hang shelves in a rental?
Read your lease and ask your landlord before drilling. Small holes are often allowed, but some leases limit them. Keep a little spackle on hand so you can patch the holes before you move out.